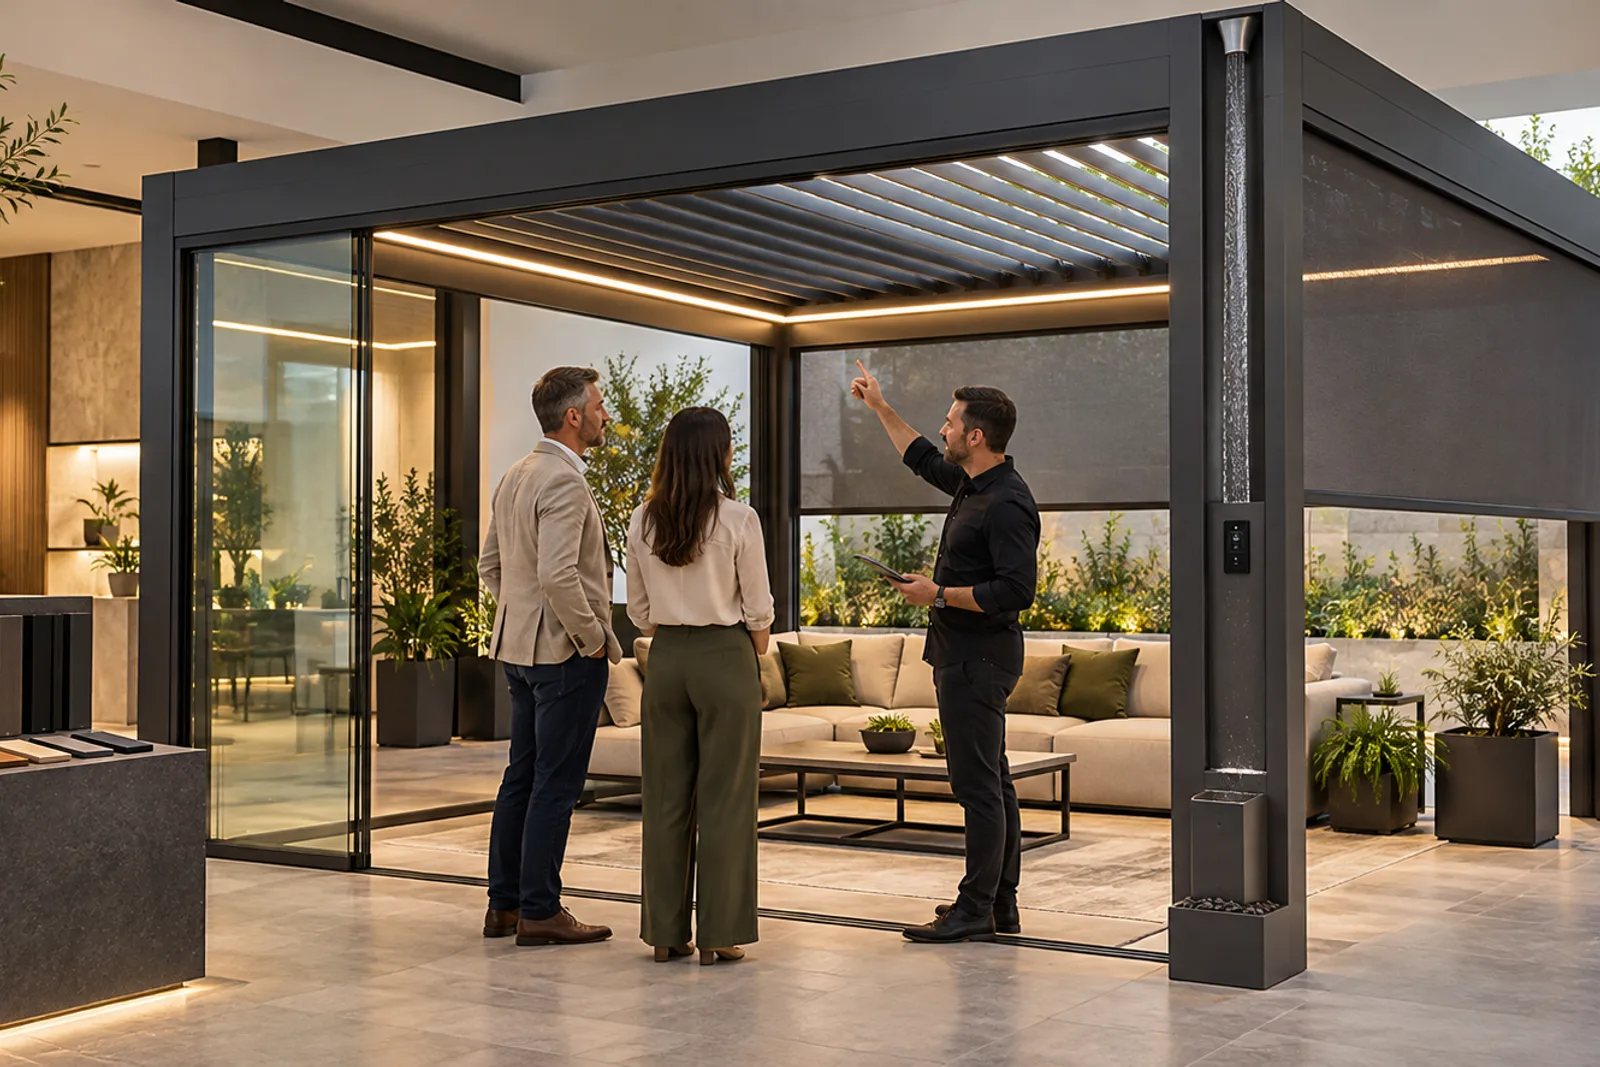
- Start with the target customer and repeatable roof system, not the largest model.
- Make movement, water path, controls and service access easy to demonstrate.
- Show only compatible accessories and explain what remains project-specific.
- Use the build as installer practice and record lessons before client orders.
- Free samples, dealer price, MOQ and regional exclusivity require separate commercial confirmation.
Define the target showroom customer
A residential landscape dealer, commercial contractor and architectural specification studio may need different demonstrations. List the buyers the showroom expects, the typical applications, the decisions they ask about and the installation capability the dealer wants to build. The sample should answer those recurring questions.
Avoid combining every product into one confusing display. A clear starting system helps staff explain roof behavior, structure, drainage and controls. Additional models can be represented with profile sections, finish samples, drawings and project-specific review until demand justifies another full-size sample.
| Target visitor | What they need to understand | Useful sample emphasis |
|---|---|---|
| Villa owner | Shade, daylight, rain response and appearance | Roof movement, lighting and one side accessory |
| Landscape designer | Levels, foundations, drainage and finish | Post base, outlet and finish samples |
| Contractor | Assembly, power and interface responsibility | Accessible fixings, controller and service panels |
| Hospitality buyer | Zones, staff operation and maintenance | Grouped controls and durable access routes |
Choose one roof system and a useful size
Select a roof system that matches the dealer's market and support capability. A motorized rotating-louver sample can demonstrate changing shade and roof ventilation; a retractable system demonstrates a larger open-sky condition. A manual sample may suit buyers prioritizing simpler operation. The chosen LUCY model and sample size must still be confirmed commercially and technically.
The display should be large enough for visitors to stand beneath and see realistic proportions, but small enough to preserve clear circulation around posts and moving edges. Show the finished height, furniture scale and side-opening geometry. Do not present a sample module as proof that the same span or support layout applies to every site.
- Target customer and application
- Roof movement customers can see
- Safe walking and viewing space
- A representative but not misleading module
- Access to controls, outlets and service points
Demonstrate roof movement and drainage
Visitors should be able to see how the roof changes from open to angled and closed positions under supervised operation. Explain that louvers remain overhead while a retractable roof behaves differently. Keep fingers, furniture and display materials away from moving zones, and provide a simple staff operating procedure.
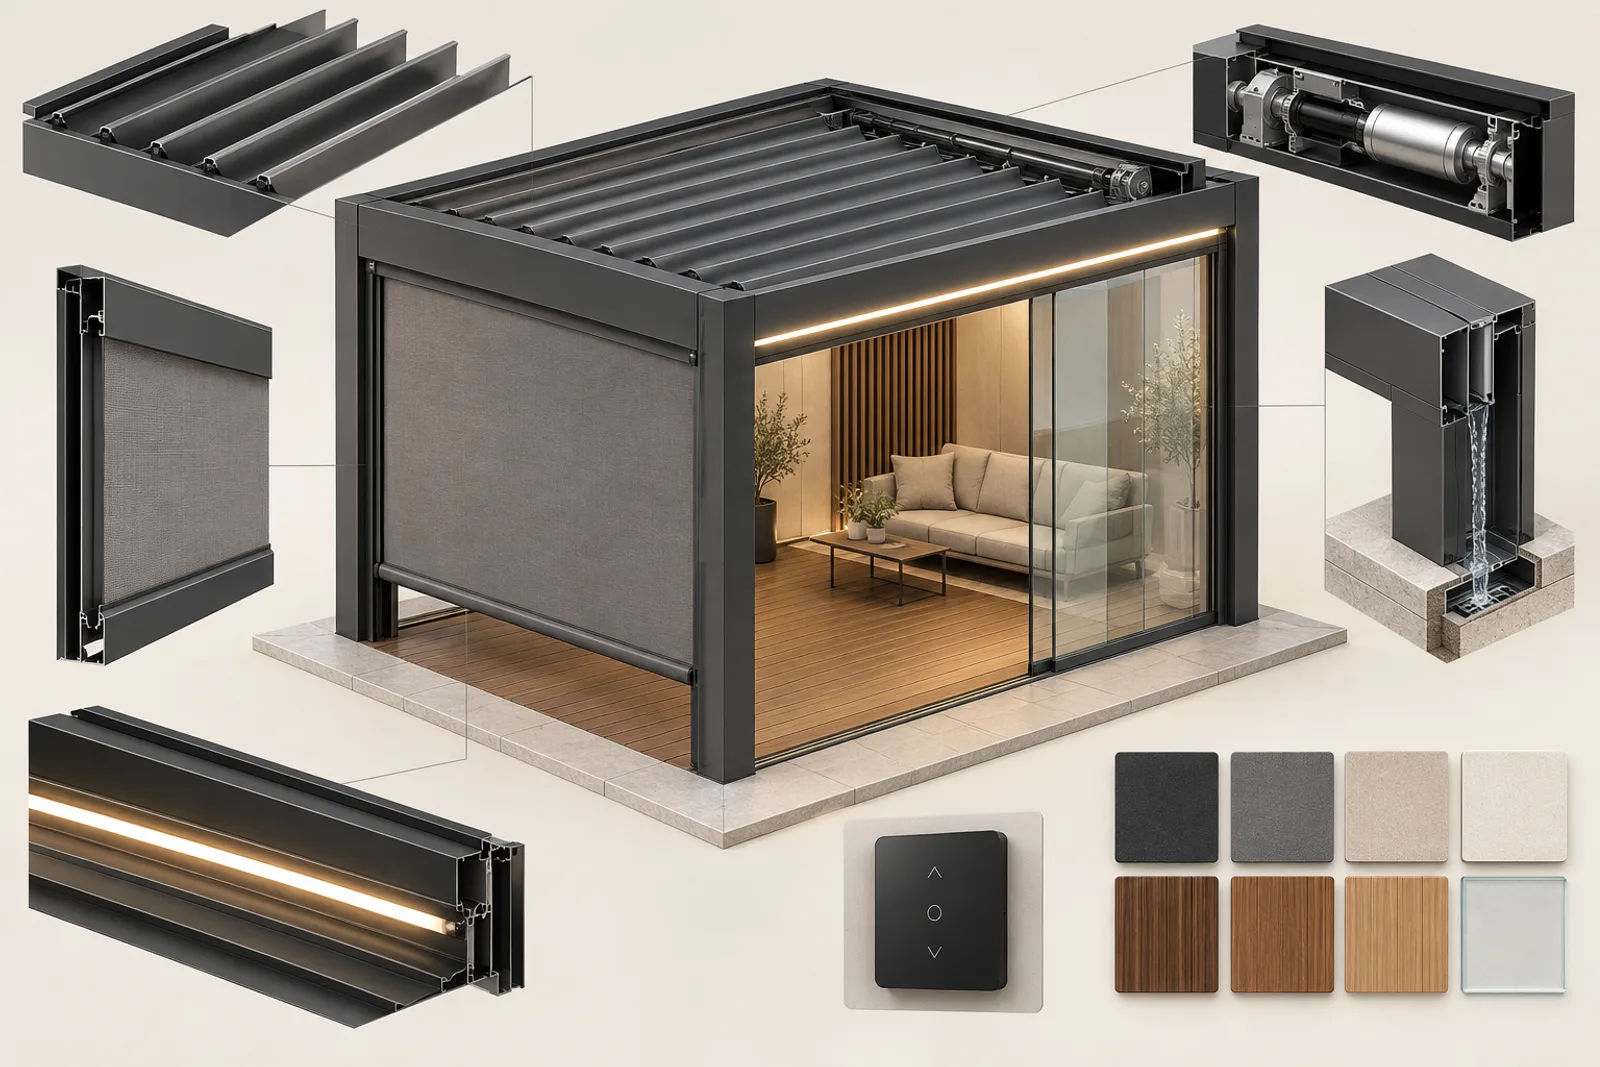
Make the water route understandable without creating an uncontrolled wet display. A cutaway or removable cover can show how water moves from louvers to perimeter channels and a selected drainage post. The final site must still coordinate the outlet with local drainage, foundations and paving.
| Demonstration | Show | Explain |
|---|---|---|
| Roof open | Light, ventilation and retained roof geometry | Operating limits remain product-specific |
| Roof closed | Overlapping blades and channel route | Not an unconditional indoor roof |
| Drainage corner | Gutter and selected post outlet | Site discharge is a separate responsibility |
| Controls | Named zones and safe stop | Sensors do not replace responsible operation |
Show ZIP screen, glass and lighting selectively
One ZIP screen elevation can demonstrate cassette, retained fabric, side guides, bottom bar and control. One glass elevation can demonstrate panel movement, track, threshold and parking. Showing both on different sides makes their distinct functions clear: fabric shade and privacy versus transparent enclosure and circulation.
Integrated LED lighting should reveal the channel, driver access and control zone rather than only creating atmosphere. If heaters or fans are relevant to the market, a sample or mounting mock-up can explain clearances and power without crowding the live pergola. Every accessory should be identified as compatible with the actual sample configuration.
- One complete ZIP screen opening
- One clear glass movement and parking example
- Accessible LED driver or service cover
- Visible electrical isolation location
- No accessory that conflicts with egress or roof movement
Use finishes and controls as decision tools
Provide physical finish samples that can be viewed beside the frame under daylight and showroom lighting. Record the approved sample references and explain that screen colors cannot replace physical approval. Include representative accessory trims so customers understand how the complete system coordinates.
Controls should be simple enough for staff to demonstrate reliably. Labeling can remain in showroom materials rather than permanently altering the product. If the display includes remotes, wall controls or sensors, explain which features are included in the shown configuration and which require a separate project review.
| Decision tool | Customer question it answers |
|---|---|
| Large finish chips | How do color, gloss and texture look in real light? |
| Profile cutaway | How are structure, gutter and cable zones separated? |
| Control map | Which roof or accessory does each control operate? |
| Accessory section | How does the component attach and remain serviceable? |
| Drawing example | What is approved before production? |
Turn installation into dealer training
Use the sample installation to train the team in package identification, drawing revision, set-out, temporary bracing, frame squaring, roof assembly, drainage, controls and handover. Record questions and mistakes while they are inexpensive to resolve. The project-specific manual and local requirements still govern real installations.
Photograph concealed routes and connections during the sample build. Retain spare seals, fastener references, controller data and finish repair guidance. The display then becomes an after-sales reference where technicians can explain parts and rehearse safe procedures without experimenting at a client site.
- Check packages against the packing list
- Use the latest drawing revision
- Measure and square the frame
- Protect finishes during assembly
- Test movement, controls and drainage
- Create a sample service record
Sample acceptance and sales use
Accept the sample with the same discipline expected on a client project: verify appearance, roof travel, control zones, drainage path, accessory operation, cleaning and safe circulation. Record open items and assign them before public demonstration. A showroom that operates inconsistently can weaken trust rather than build it.
Create a guided visit around buyer decisions. Start with intended use, demonstrate roof movement, then show water, sides, lighting, finish and project documentation. End by collecting the visitor's location, approximate dimensions, site photos and preferred configuration. Do not imply free samples, a minimum order, dealer pricing or regional exclusivity unless the separate commercial agreement confirms it.
| Visit stage | Dealer action | Buyer output |
|---|---|---|
| 1. Discover | Ask use, site and weather priorities | Clear project goal |
| 2. Demonstrate | Operate roof and selected accessories | Preferred system behavior |
| 3. Inspect | Show drainage, finish and service access | Quality and maintenance questions |
| 4. Configure | Discuss model and options | Preliminary configuration |
| 5. Follow up | Request plan, dimensions and photos | Qualified project enquiry |
Project visuals
See the details in context
Common questions
Which pergola model should be the first showroom sample?+
Choose from the target market, roof behavior and dealer support plan. LUCY should review the specific sample configuration before order.
How large should the display be?+
Large enough to experience realistic height and movement, but small enough to preserve safe circulation and visible details. No universal dimension fits every showroom.
Should the sample include every accessory?+
No. Use selected compatible accessories that clarify real buyer decisions and support future sales or installer training.
Can the sample be used for installation training?+
Yes. Record the build, tests and lessons, while still using project-specific documents for client sites.
Does LUCY provide a free sample?+
This guide makes no such promise. Sample price, freight and commercial terms must be confirmed for the actual dealer proposal.
What should staff collect after a demonstration?+
Collect location, intended use, approximate dimensions, site photographs, roof preference and accessory priorities.
Project configuration review
Talk to LUCY About Your Pergola Project
Send your project location, approximate dimensions, site photos or drawings for an initial configuration review.
WeChat: Lu260920
WhatsApp: +86 180 0306 4201
Project configuration review
Discuss your pergola project with LUCY.
Share the site location, dimensions, intended use and any available drawings. LUCY will review the relevant system, model and project interfaces.
Get a quote