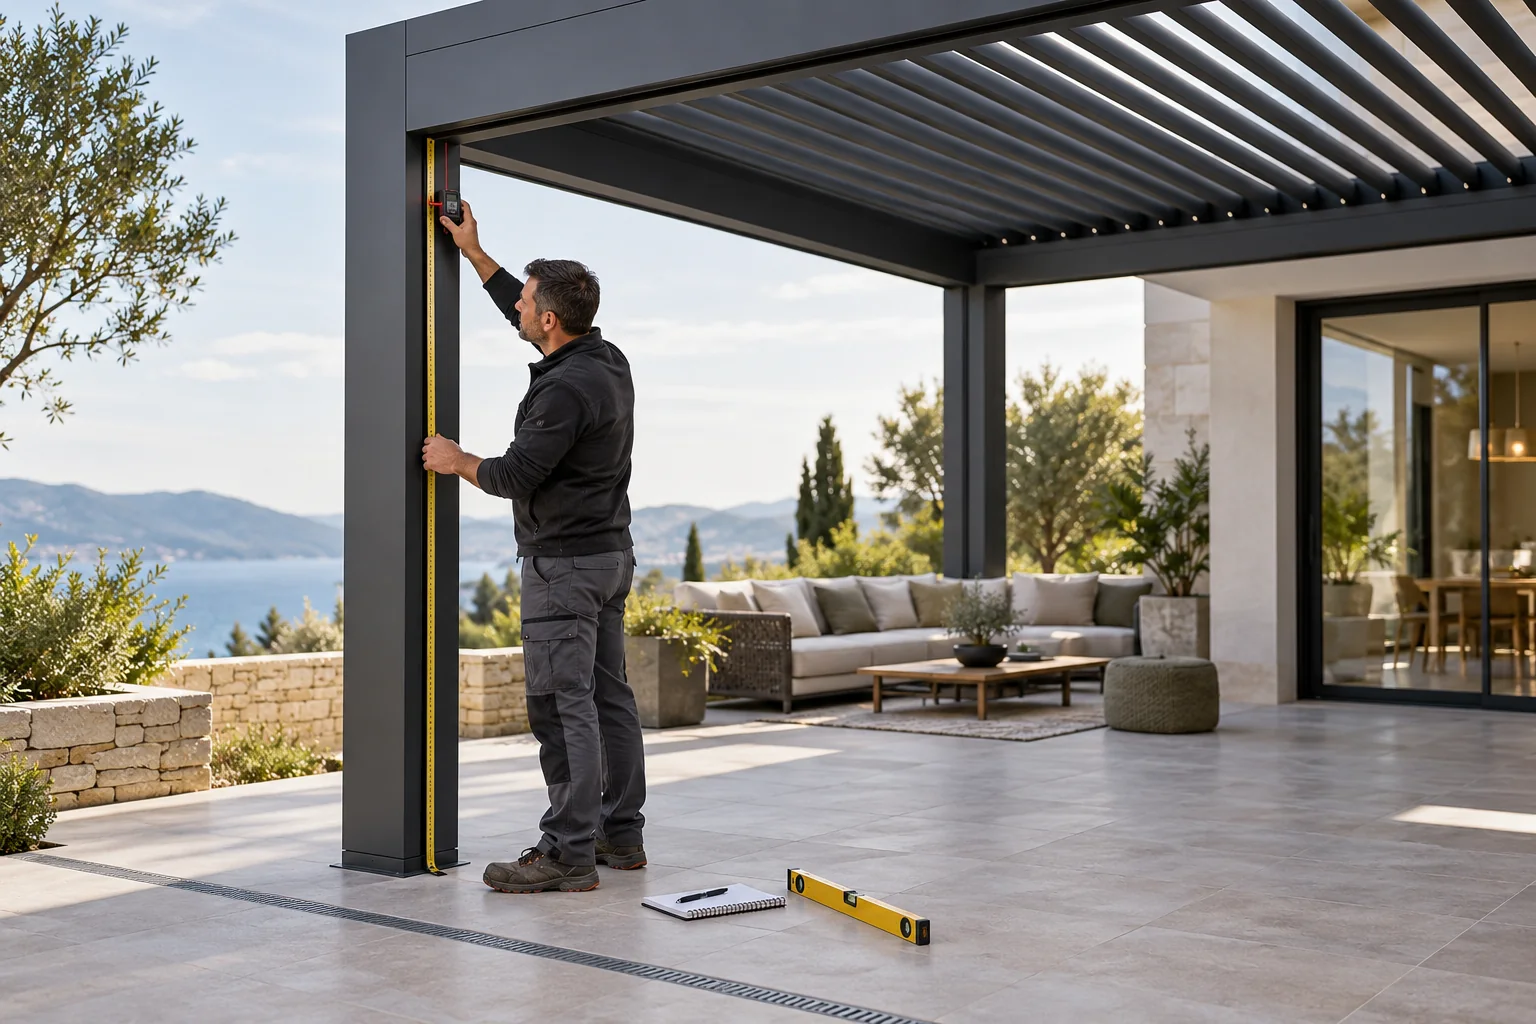
Measure each finished pergola opening separately at the top, middle and bottom for width, and at the left, center and right for height. Record the smallest clear dimension, diagonals, post plumb, beam level, floor falls, base plates, drainage outlets, handles and other obstructions. Do not order a screen from the nominal pergola bay size or assume matching bays are identical.
Best for
- New pergolas being prepared for integrated screens
- Existing pergolas receiving retrofit ZIP screens
- Dealers checking site data before factory release
- Contractors coordinating finished floors and electrical work
Key information
Key specifications
- Width
- Top, middle and bottom of each finished opening
- Height
- Left, center and right from the agreed head datum
- Geometry
- Both diagonals, post plumb and beam level
- Interfaces
- Cassette, side guides, bottom bar, floor, drainage and power route
Available options
- Surface-mounted or coordinated concealed cassette
- Manual or motorized operation where compatible
- Different side-guide and fabric choices by approved system
- Separate control zones for multiple openings
Quick comparison
| Measurement | Record | Why it matters |
|---|---|---|
| Opening width | Top, middle and bottom | Reveals taper or bowed posts |
| Opening height | Left, center and right | Reveals floor fall or beam variation |
| Diagonals | Corner to opposite corner | Indicates whether the opening is square |
| Clearances | Handles, lights, outlets and base plates | Prevents collision with guides or bottom bar |
Measure the finished opening, not the drawing
A fabrication drawing is a valuable starting point, but a retrofit screen must fit the pergola that was actually installed. Anchoring tolerances, frame adjustment, paving build-up and site movement can change the clear opening. Even adjacent bays from the same project may differ by several millimetres, so label every opening and keep its measurements separate.
Confirm with the supplier which faces define the screen opening. The required dimension may be between post faces, between prepared guide surfaces or between another agreed datum. Never deduct a cassette, guide or installation allowance unless the screen supplier has issued that exact rule for the selected system.
- Give every opening a unique label
- Photograph the whole elevation and each corner
- State whether dimensions are finished or unfinished
- Record units once and use them consistently
- Keep raw site measurements as well as the proposed order size
Step-by-step ZIP screen measurement checklist
Use a reliable tape or laser suitable for the distance and verify critical dimensions with a second method. Measure width at the underside of the beam, at mid-height and near the intended bottom-bar landing level. Measure height on both sides and through the center. Record both diagonals, then check post plumb and beam level with appropriate tools.
Do not average measurements to hide an irregular opening. The smallest clear dimension may govern fit, but the supplier still needs the complete set to decide whether packing, adjustment or corrective work is required. Note temperature, access restrictions and any temporary finishes that may change before installation.
| Sequence | Site action | Record |
|---|---|---|
| 1 | Identify opening and screen side | Elevation photo and opening ID |
| 2 | Measure three widths | Top, middle and bottom |
| 3 | Measure three heights | Left, center and right |
| 4 | Measure both diagonals | Difference, without correcting it |
| 5 | Check plumb and level | Direction and amount of variation |
| 6 | Map obstructions and services | Dimensioned photos or sketch |
| 7 | Confirm finished floor | Material, fall and final level |
| 8 | Confirm cable and control route | Entry point and responsible trade |
Allow space for the cassette, guides and bottom bar
The fabric is only one part of a ZIP screen. The head cassette requires an unobstructed fixing zone and service access. Side guides need continuous, structurally suitable mounting surfaces. The bottom bar needs a defined stopping position that does not strike paving, a threshold, furniture or a sloping drain channel.
Check brackets, post caps, downlights, sockets, wall lights, door handles, roof controls and rainwater outlets. If a pergola post contains concealed drainage, drilling positions must be coordinated so guide fasteners do not damage the outlet path. A screen should not block access needed for motor, gutter or electrical maintenance.
- Photograph cassette fixing surface from below
- Measure usable post-face width
- Mark drainage and cable zones
- Show door and window swing
- Confirm a clean landing line for the bottom bar
- Reserve access to motors and controllers
Retrofit checks for an existing pergola
First confirm that the pergola model and opening are compatible with the proposed screen. A visually similar frame does not prove that its posts can receive the guide fixings or that the beam can carry the cassette arrangement. Identify the manufacturer and model where possible, and provide profile photos and available drawings.
Check whether the frame is square, securely anchored and free from movement. Screens can be sensitive to misalignment and wind exposure. The responsible project team should review fixing suitability, electrical protection and local wind-use procedures. A ZIP screen is a flexible side accessory, not a structural wall or a guarantee against all wind-driven rain.
| Retrofit question | Useful evidence | Decision owner |
|---|---|---|
| Is the frame compatible? | Model, profile photos and drawings | Screen/pergola supplier |
| Are fixing faces suitable? | Dimensions and concealed-service information | Supplier and installer |
| Is power available? | Voltage, circuit and cable route | Qualified local electrical trade |
| Is exposure appropriate? | Location, elevation and open surroundings | Project team under local requirements |
Prepare a factory-ready measurement package
Send a plan or elevation showing each opening ID, its width-height-diagonal set, the finished floor, screen operating side and preferred control grouping. Add overview photos, close-ups of every fixing surface and a short video if geometry or obstructions are difficult to explain. State whether the pergola is new, already installed or from another supplier.
Treat the first submission as site information, not automatic production approval. The manufacturer should confirm the selected system, required deductions, guide arrangement and any unresolved conditions. Production should follow an approved screen drawing or schedule that connects each manufactured unit to its measured opening.
- Opening schedule with unique IDs
- All raw measurements and units
- Dimensioned elevation or marked photographs
- Finished-floor and drainage information
- Power, controller and control-zone plan
- Installation access and responsible installer
- Final approved screen schedule before release
Project visuals
See the details in context
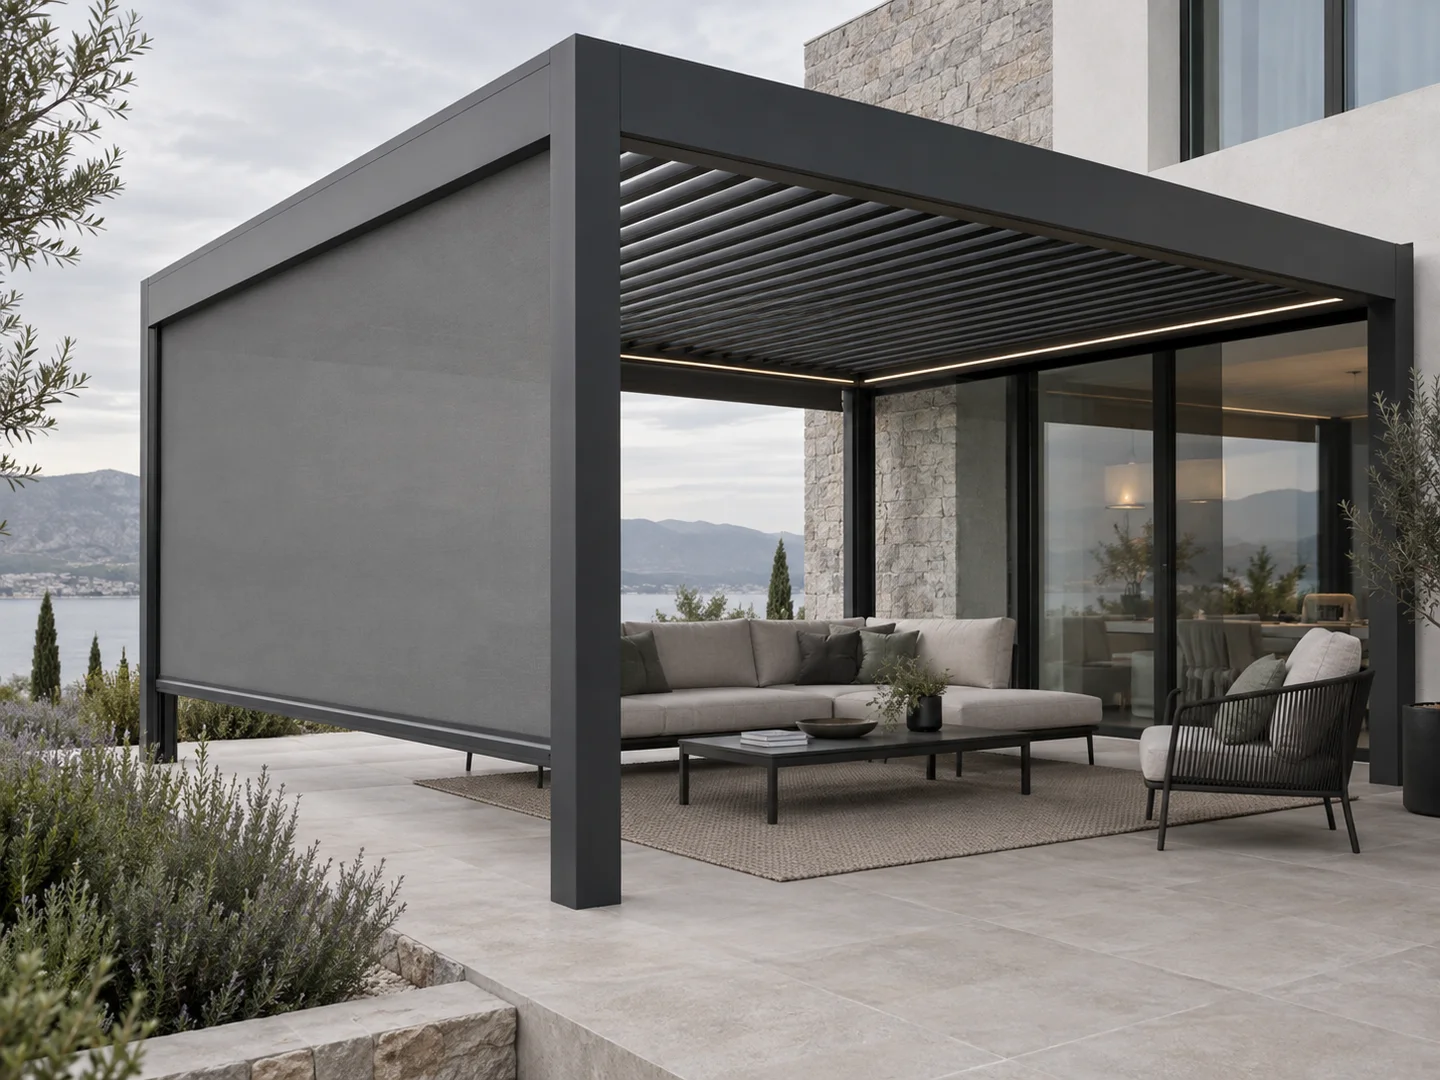

Apply the measurements to a pergola ZIP screen coordinated with a motorized louvered pergola, JY180, JY220 or JY250.
Common questions
Should I use the smallest width and height?+
Record every measurement. The smallest clear dimension may influence fit, but only the selected screen supplier should define the manufacturing deduction.
Can I measure before the pergola is installed?+
A preliminary size can support budgeting, but final retrofit production should use verified finished openings unless the approved system and construction process explicitly provide otherwise.
Do matching bays need separate measurements?+
Yes. Installation and floor tolerances can make apparently identical bays different.
How do I check whether the opening is square?+
Measure both diagonals and compare them, then also check post plumb and beam level.
Can a ZIP screen be fitted over a sloping patio?+
Possibly, but the bottom-bar landing, guide lengths and acceptable floor variation must be reviewed for the selected screen.
Who should arrange the electrical supply?+
A qualified local electrical trade should design and install the supply from confirmed motor, control and protection requirements.
Will the screen stop all wind and rain?+
No. It can improve shade and comfort, but it remains a flexible outdoor screen with project-specific operating limits.
About LUCY
Manufacturer-focused guidance from LUCY.
This guide addresses how to measure for pergola ZIP screens from the perspective of a configurable aluminum pergola manufacturer. Product selection, OEM / ODM and project coordination remain tied to verified site and technical inputs.
For product information, catalogues or a factory quote, contact LUCY on WeChat: Lu260920
Learn about LUCY manufacturing →Project configuration review
Discuss your pergola project with LUCY.
If this how to measure for pergola ZIP screens guide matches your project question, send the location, dimensions and intended use for a project-specific review.
Get a quote